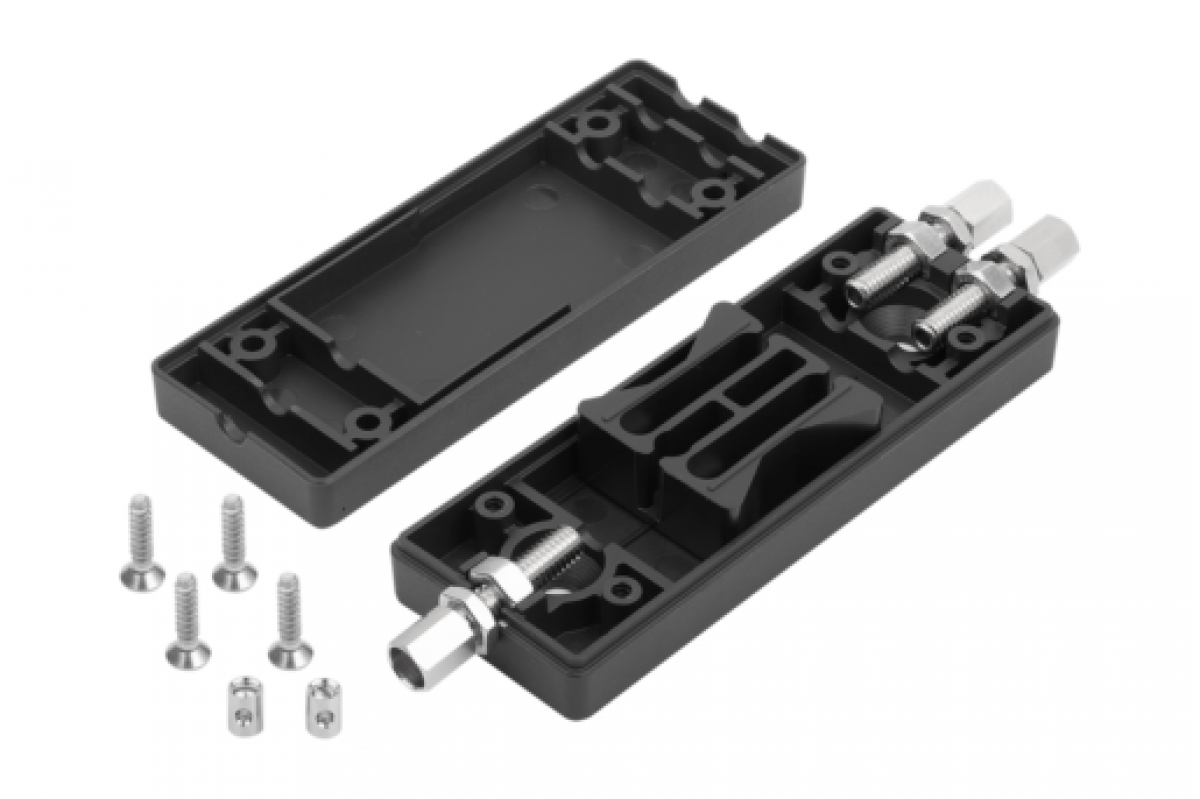
Three Bowden cables can be combined with the Bowden cable distributor. As an example, two indexing plungers can be operated with just one actuating element. Thanks to the reversible application option, one indexing plunger can also be operated by two actuating elements. It is sufficient to pull on one of the two actuating elements to engage the indexing plunger.
Two fastening holes for countersunk screws allow flexible mounting. Due to the width of the housing and the position of the fastening holes, mounting on a 40 mm aluminium profile using M8 slot nuts is possible without any problems.
MATERIAL
Housing and slide thermoplastic.
Adjusting screws and screw nipples brass.
Hexagon nuts and housing screws stainless steel.
NOTE FOR ORDERING
Indexing plungers with remote actuation and actuating element must be ordered separately.
The Bowden cable between the actuating element and the cable junction must be ordered separately.
NOTE
When installing the Bowden cables, the following points should be noted:
The length of the free end of the cable can change due to the layout angle, bending radius and load factors. So, after laying the Bowden cable, the length of the counter-bearing (casing) must be adjusted using the adjusting screw supplied. The adjusting screw is also used to set the pretension in the Bowden cable system.
When laying the cable, particular care must be taken to ensure that the bending radius is not below the minimum value, which in this case is R = 65 mm. A radius which is too narrow can lead to increased wear and higher friction.
Also avoid letting the bending radius briefly go below the minimum value when installing, as this can cause damage to the casing. Also, the casing is designed only to support pressure forces. If pulled too sharply, the inner coil will be stretched and permanently damaged.
ASSEMBLY
Open the housing and mount the lower part in the intended position using countersunk screws. Guide the Bowden cables through the adjusting screws and hook them into the slide of the cable distributor. The screw nipples supplied can optionally be used for this purpose. Adjust the Bowden cable play using the adjusting screws. Fit the housing cover and secure it with the screws supplied. After the cables have been laid and fastened, the Bowden cable play must be finally adjusted.
