

Description
WorkNC finishing strategies
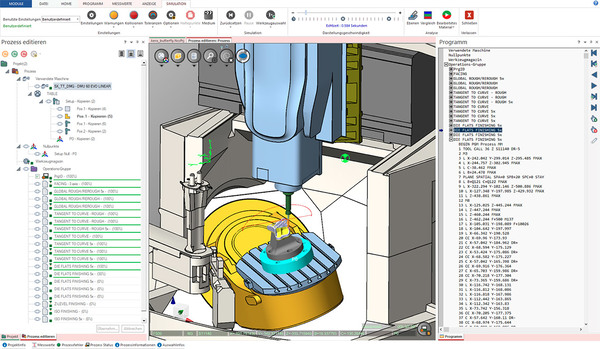
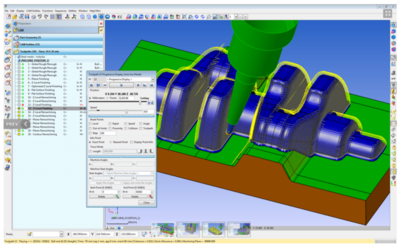
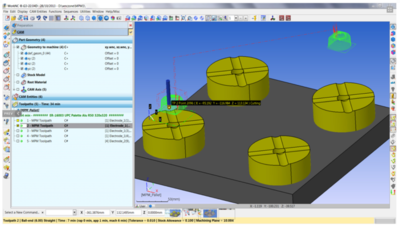
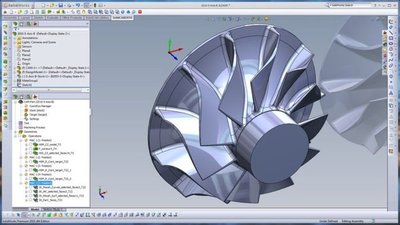
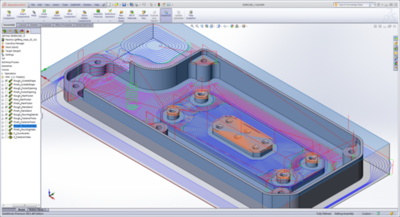
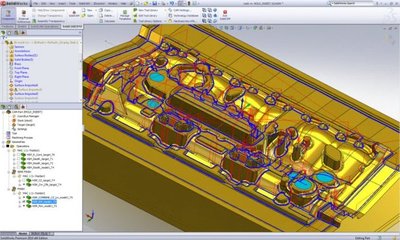
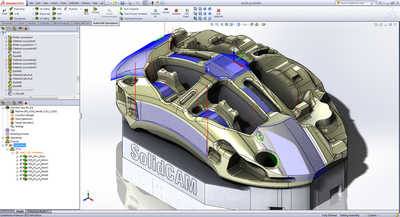
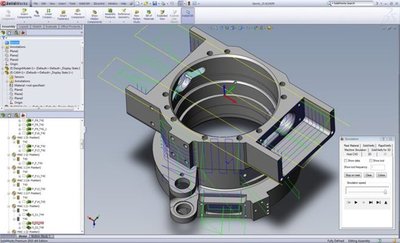
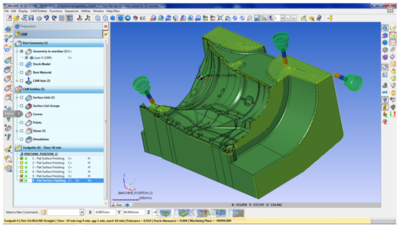
WorkNC offers a wide choice of finishing strategies to meet all the needs of the finishing stage of a project.
Overview of features
Wide choice of strategies, high finishing quality whatever the method
Smoothed toolpaths for high-speed machining
Spiral transitions between levels to minimise engagements
Toolpath morphing in certain strategies to improve finish
Tool holder collision prevention
Edge protection where necessary
Toolpath optimisation for full coverage of the part.
All finishing toolpaths are optimised to deliver the highest level of performance with high-speed machining techniques such as smoothing radius, helical approaches and island machining. Collision prevention is a standard feature for all finishing toolpaths.
WorkNC is one of the most comprehensive CAM solutions on the market, with over 20 finishing toolpaths available. This range of toolpaths lets you select the strategy best suited to machine your parts, regardless of the complexity of their geometry.
Here is a summary of the main finishing toolpaths:
Level finishing
This is a standard toolpath for machining parts with vertical or inclined areas, or highly curved shapes. It is designed for high-speed machining with smooth, rounded movements, as well as spiral transitions to move from one level to another without difficulty. This toolpath is also optimised to reduce machining times and improve quality, with automatic engagements at corners to avoid marking the part.
Parallel plane finishing
This is a standard finishing toolpath suitable for a wide range of materials and tools supported by WorkNC. It is ideally suited to areas of the part that are not excessively inclined. It can avoid areas where the step-over increases due to inclination. Smooth radius transitions can be made between passes. Tangent extensions are possible at part edges to avoid leaving ridges and to finish surfaces.
Level finishing optimisation
This toolpath is generally used in conjunction with the Level finishing toolpath. It is designed to machine relatively flat areas of the part, but it can also machine or avoid flat areas. The smoothing radius is available to prevent the tool from machining areas where a lot of stock remains, due to the smoothing radius possibly used in a previous toolpath.
Parallel finishing optimisation
This toolpath is generally used in conjunction with the Parallel plane finishing toolpath to machine areas of the part where the slope exceeds a given angle, usually in a direction perpendicular to that of the original toolpath.
Plane finishing
This toolpath is designed to machine parts with large flat surfaces, such as parting planes. It is also optimised for high-speed machining with spiral pocket clearing and a large corner radius. This toolpath also allows machining of vertical walls detected around flat surfaces.
Parallel to curve finishing 3D
This toolpath is designed to finish parts with relatively regular shapes. It applies to many types of material and maintains a constant step-over regardless of inclination. Spiral transitions ensure constant tool contact for superior finish quality.
Finishing 3D
This brand-new high-performance finishing strategy morphs the toolpaths to follow the contours of the selected surfaces. Featuring spiral transitions, this toolpath delivers excellent finish with a minimum of engagements and retractions. It is used to machine a selection of surfaces requiring the highest finish quality.
ISO finishing
This is also a brand-new strategy, requiring a curve to determine the starting point and cutting direction, while the ISO parameters of the selected surfaces define the toolpath trajectory. It is a more specialised toolpath offering a higher level of finish.
Continuous finishing
This toolpath is designed to machine complete parts, or selected areas, with a continuous trajectory, thereby minimising retractions. It is typically suited to machining geometries that vary regularly along the machining axis on parts such as electrodes, cores and dies, etc.
Finishing between 2 curves
This toolpath machines between two guide curves defined by the user, which may be open or closed. The resulting toolpath 2D is then projected onto the surfaces. The user can specify whether machining is carried out parallel or perpendicular to the guide curves. It is also possible to morph the step-over to maintain a smooth cutting condition at all times.
Level finishing & Optimisation
This toolpath combines the Level finishing and Level finishing optimisation toolpaths into a single toolpath: a single setup and a single calculation for the combination.
Undercut machining
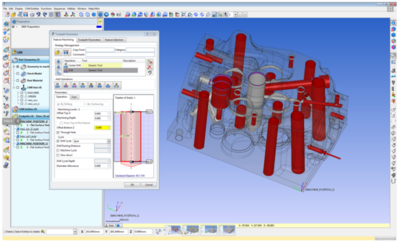
This toolpath allows 3-axis or 3+2-axis machining of undercut areas using lollipop and disc-type tools. Machining is carried out only on the detected undercut areas. However, if the tool used is a ball-nose cutter unable to machine undercut areas in 3 axes, the toolpath can be automatically converted into a 5-axis toolpath with collision removal via the Auto5 module. This toolpath can also be used as a standard finishing toolpath to machine an entire part, including undercut areas, in a single pass, but it cannot be edited manually.
Spiral/radial finishing
This toolpath is calculated as a 2D toolpath and then projected onto the surfaces to be machined. In Spiral mode, machining starts at an entry point defined by the user, with a spiral trajectory moving inwards or outwards. The step-over is constant in the plane. In Radial mode, the toolpath follows a back-and-forth path from a point defined by the user.
Thin wall machining
This toolpath has been specially designed to efficiently machine thin walls of a part that could deform if other strategies were used. Each Z level is fully machined using a combination of 3 toolpaths: Roughing/Global clean-up, Level finishing and Level finishing optimisation. WorkNC then moves down to the next Z level and repeats the sequence.
Protruding edge finishing
This strategy is used to machine protruding edges of parts, such as drawing tools. This toolpath is designed so that the tool does not touch the protruding edge, but machines the areas on either side of it. In this way, the tool does not risk breaking the protruding edge.
Curve-following finishing
This toolpath machines along a single closed or open guide curve. The resulting toolpath 2D is then projected onto the surfaces. It can be executed in three different ways: parallel to the curve, perpendicular to the curve, or on the curve in a single pass.
WorkNC offers a wide choice of finishing strategies to meet all the needs of the finishing stage of a project.
Overview of features
Wide choice of strategies, high finishing quality whatever the method
Smoothed toolpaths for high-speed machining
Spiral transitions between levels to minimise engagements
Toolpath morphing in certain strategies to improve finish
Tool holder collision prevention
Edge protection where necessary
Toolpath optimisation for full coverage of the part.
All finishing toolpaths are optimised to deliver the highest level of performance with high-speed machining techniques such as smoothing radius, helical approaches and island machining. Collision prevention is a standard feature for all finishing toolpaths.
WorkNC is one of the most comprehensive CAM solutions on the market, with over 20 finishing toolpaths available. This range of toolpaths lets you select the strategy best suited to machine your parts, regardless of the complexity of their geometry.
Here is a summary of the main finishing toolpaths:
Level finishing
This is a standard toolpath for machining parts with vertical or inclined areas, or highly curved shapes. It is designed for high-speed machining with smooth, rounded movements, as well as spiral transitions to move from one level to another without difficulty. This toolpath is also optimised to reduce machining times and improve quality, with automatic engagements at corners to avoid marking the part.
Parallel plane finishing
This is a standard finishing toolpath suitable for a wide range of materials and tools supported by WorkNC. It is ideally suited to areas of the part that are not excessively inclined. It can avoid areas where the step-over increases due to inclination. Smooth radius transitions can be made between passes. Tangent extensions are possible at part edges to avoid leaving ridges and to finish surfaces.
Level finishing optimisation
This toolpath is generally used in conjunction with the Level finishing toolpath. It is designed to machine relatively flat areas of the part, but it can also machine or avoid flat areas. The smoothing radius is available to prevent the tool from machining areas where a lot of stock remains, due to the smoothing radius possibly used in a previous toolpath.
Parallel finishing optimisation
This toolpath is generally used in conjunction with the Parallel plane finishing toolpath to machine areas of the part where the slope exceeds a given angle, usually in a direction perpendicular to that of the original toolpath.
Plane finishing
This toolpath is designed to machine parts with large flat surfaces, such as parting planes. It is also optimised for high-speed machining with spiral pocket clearing and a large corner radius. This toolpath also allows machining of vertical walls detected around flat surfaces.
Parallel to curve finishing 3D
This toolpath is designed to finish parts with relatively regular shapes. It applies to many types of material and maintains a constant step-over regardless of inclination. Spiral transitions ensure constant tool contact for superior finish quality.
Finishing 3D
This brand-new high-performance finishing strategy morphs the toolpaths to follow the contours of the selected surfaces. Featuring spiral transitions, this toolpath delivers excellent finish with a minimum of engagements and retractions. It is used to machine a selection of surfaces requiring the highest finish quality.
ISO finishing
This is also a brand-new strategy, requiring a curve to determine the starting point and cutting direction, while the ISO parameters of the selected surfaces define the toolpath trajectory. It is a more specialised toolpath offering a higher level of finish.
Continuous finishing
This toolpath is designed to machine complete parts, or selected areas, with a continuous trajectory, thereby minimising retractions. It is typically suited to machining geometries that vary regularly along the machining axis on parts such as electrodes, cores and dies, etc.
Finishing between 2 curves
This toolpath machines between two guide curves defined by the user, which may be open or closed. The resulting toolpath 2D is then projected onto the surfaces. The user can specify whether machining is carried out parallel or perpendicular to the guide curves. It is also possible to morph the step-over to maintain a smooth cutting condition at all times.
Level finishing & Optimisation
This toolpath combines the Level finishing and Level finishing optimisation toolpaths into a single toolpath: a single setup and a single calculation for the combination.
Undercut machining
This toolpath allows 3-axis or 3+2-axis machining of undercut areas using lollipop and disc-type tools. Machining is carried out only on the detected undercut areas. However, if the tool used is a ball-nose cutter unable to machine undercut areas in 3 axes, the toolpath can be automatically converted into a 5-axis toolpath with collision removal via the Auto5 module. This toolpath can also be used as a standard finishing toolpath to machine an entire part, including undercut areas, in a single pass, but it cannot be edited manually.
Spiral/radial finishing
This toolpath is calculated as a 2D toolpath and then projected onto the surfaces to be machined. In Spiral mode, machining starts at an entry point defined by the user, with a spiral trajectory moving inwards or outwards. The step-over is constant in the plane. In Radial mode, the toolpath follows a back-and-forth path from a point defined by the user.
Thin wall machining
This toolpath has been specially designed to efficiently machine thin walls of a part that could deform if other strategies were used. Each Z level is fully machined using a combination of 3 toolpaths: Roughing/Global clean-up, Level finishing and Level finishing optimisation. WorkNC then moves down to the next Z level and repeats the sequence.
Protruding edge finishing
This strategy is used to machine protruding edges of parts, such as drawing tools. This toolpath is designed so that the tool does not touch the protruding edge, but machines the areas on either side of it. In this way, the tool does not risk breaking the protruding edge.
Curve-following finishing
This toolpath machines along a single closed or open guide curve. The resulting toolpath 2D is then projected onto the surfaces. It can be executed in three different ways: parallel to the curve, perpendicular to the curve, or on the curve in a single pass.
Technical specifications
| Category | Robotics, Automation, Industrial IT |
|---|---|
| Subcategory | Industrial software |